Kicking Off the Boys’ Bathroom Renovation
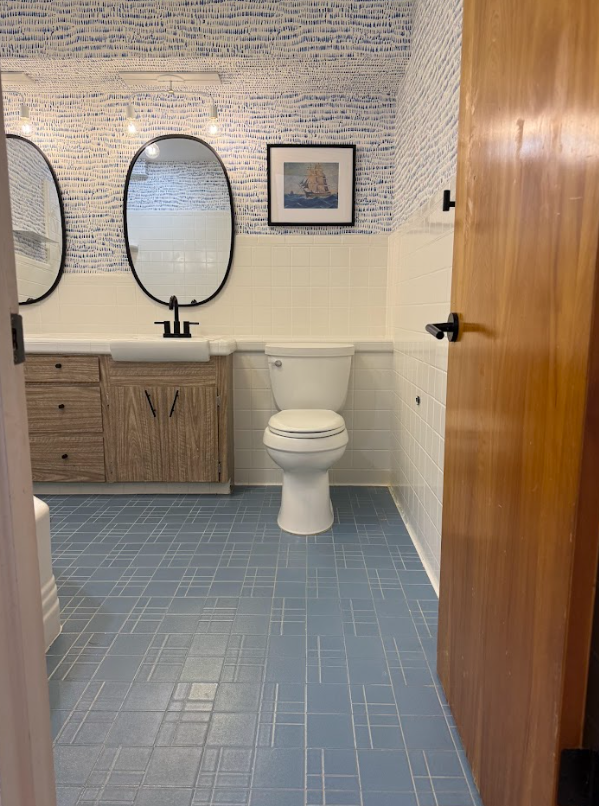
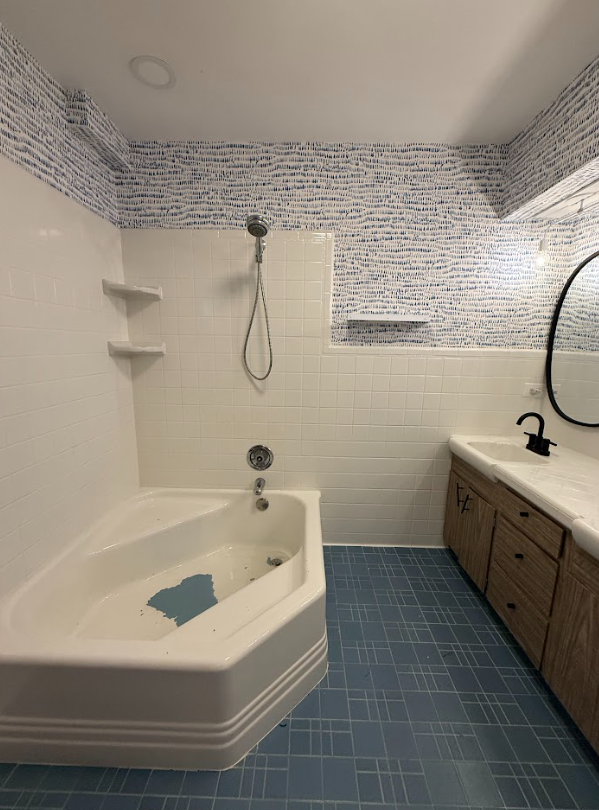
When we moved into our home, the boys’ bathroom was fully original to the house and completely blue. I mean everything. The floor tile, wall tile, sinks, and even the oversized corner tub… all blue.
About six years ago, we did a quick “phase one” refresh. We added wallpaper and new lighting and mirrors. We also glazed the tile, sinks, and tub white, and it held up beautifully for about five years before the first chips appeared. And if you know kids, you know once there’s a chip, they’ll keep picking at it until it’s a full-blown problem.
This year, it was time for a true renovation.


The Layout Challenges
The original layout came with a few pain points:
The massive corner tub left no room for a proper shower. Now that the boys are getting older, showers are a must but the younger ones still need a bathtub. (And let’s be honest, even the big boys occasionally want to soak, but I’d rather they not ask to use my green tub!)
The toilet was centered directly with the doorway. With four boys using this bathroom, the last thing I wanted was the toilet to be the focal point every time someone walked past.
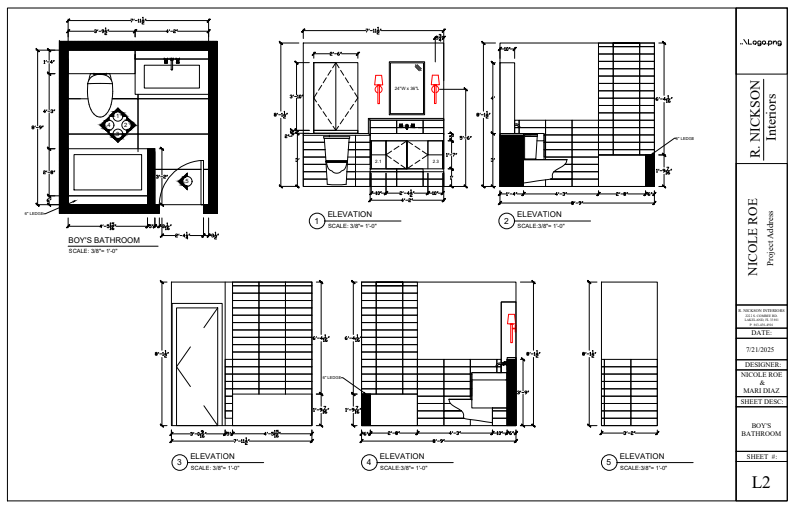
To solve this, we swapped the tub and toilet locations. This meant the toilet needed to be wall-mounted to deal with our concrete floors and the stairs below, but it was absolutely worth it.


Designing for Function (and Four Boys)
This bathroom is just under 90 square feet, so we knew it needed to work hard. Here’s where we’ve landed so far:
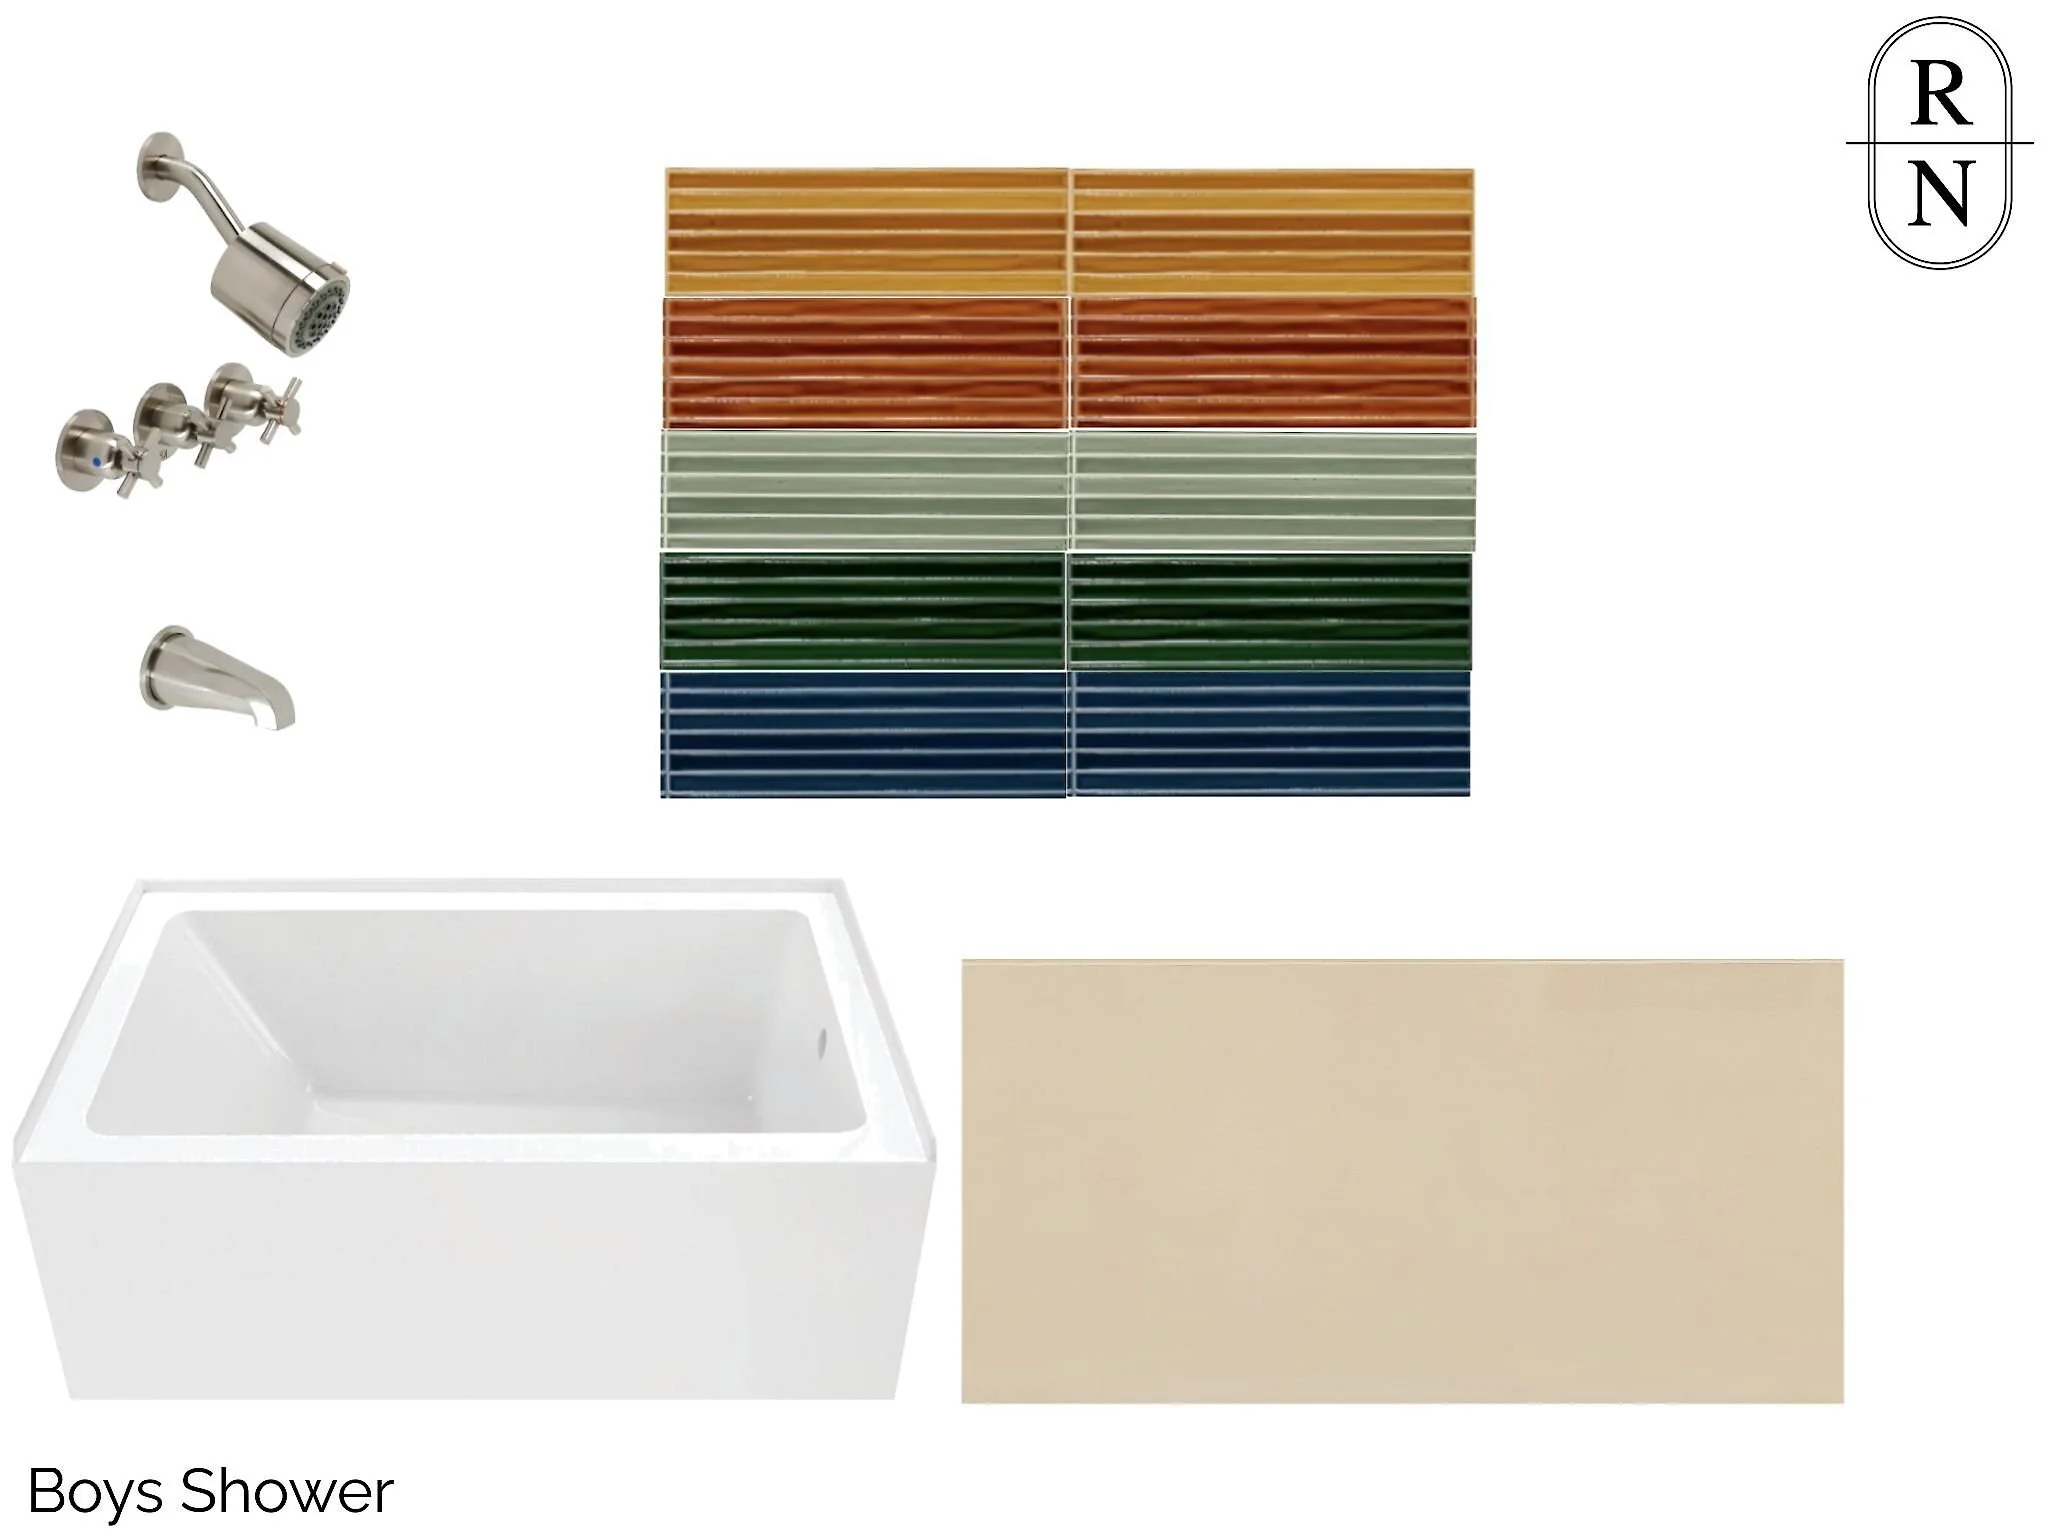
Tub & Shower: A Kingston Brass tub that’s deep enough for the older boys but still fits the 54" opening. Above it, we added a long ledge instead of a niche. This is perfect for bath toys now and tall bottles later.
Vanity: We had to go from two sinks to one due to demo constraints, but we chose a large single sink with a Miralis vanity in a dark black wood-grain finish (perfect for hiding everyday life). Each boy will have his own drawer, and we’ll be adding a tall storage tower above the toilet for towels, paper products, and overflow.
Finishes: We stayed with Kingston Brass and went with brushed nickel which is timeless, easy to maintain, and perfect for a kids’ space. I love the playful three-valve setup that ties in with the wall-mount sink faucet.
Tile: An oversized 24x48 porcelain floor tile with just enough grit to keep it safe but not slippery. The wall tile will be five different colors for a fun, youthful vibe. We will share that soon!
Lighting: A pair of wavy white sconces that bring texture and energy to the space along with four well placed 6" round flat panels.

What’s Next
The floor tile should be going in this week (yay!). Still on the decision list: hardware, accessories, and finalizing the countertop. I’m very tempted by a terrazzo slab but haven’t pulled the trigger yet. And maybe, just maybe, a wallpaper moment to pull it all together.
This bathroom may be small, but it’s about to work overtime for four growing boys and I can’t wait to share the next steps with you.
Shower Tile - Lighting - Bathtub - Tub and Shower Faucet - Floor Tile - Sink - Sink Faucet